How to configure EMIS Web for the LIVI Practice service
Table of Contents
Set up an appointment book, session holders and slot types
Create an Appointment Slot Type
Create an Appointment Template
Create a Session Holder Filter
Local User Accounts
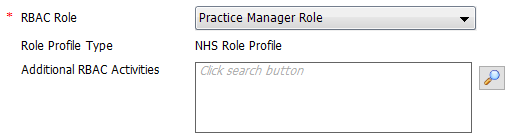
Ask the GP Practice to set up an EMIS accounts for Livi users who will be setting up the EMIS. The account will need the following EMIS role:
Create a new Location
Create a location called “Livi Practice” with a location type of “Other Location”.
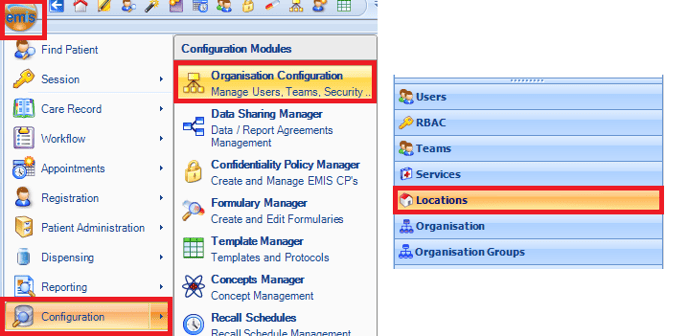
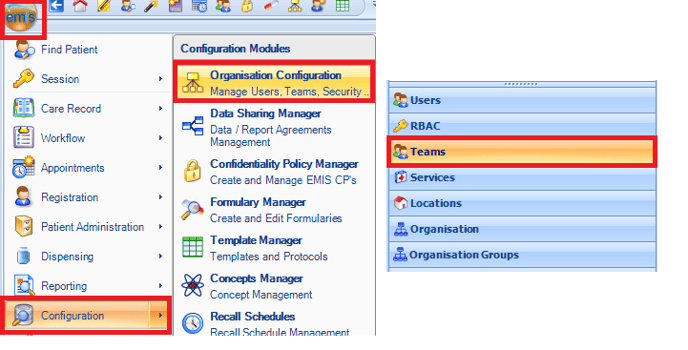
Before creating the Location make a note of the GP Practice address and telephone number. In Emis select the EMIS Bubble > Configuration > Organisation Configuration and then select Locations in the bottom left menu:
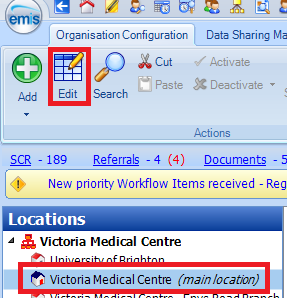
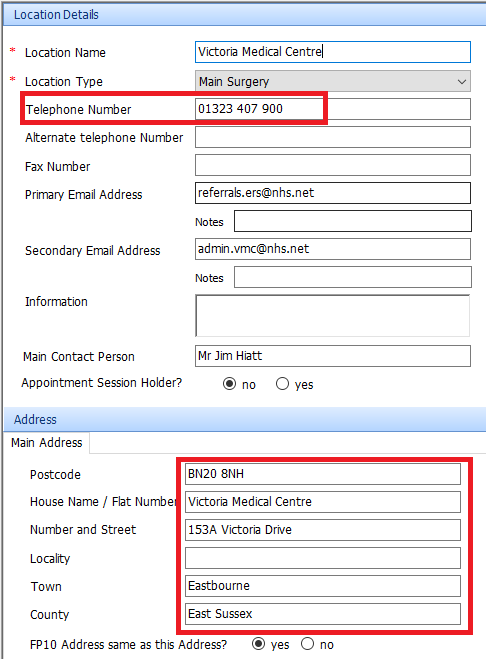
Highlight the Location (Main Location) and select Edit:
and make a note of the GP Practice Address and Telephone number (i.e. copy into Notepad):
Select Cancel and Yes when prompted.
Now make a note of Livi's main address (i.e in Notepad):
Capital Tower, 91 Waterloo Road, London, SE1 8RT
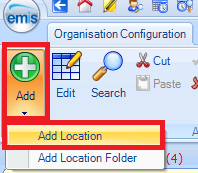
Select the dropdown arrown under Add and select Add Location:
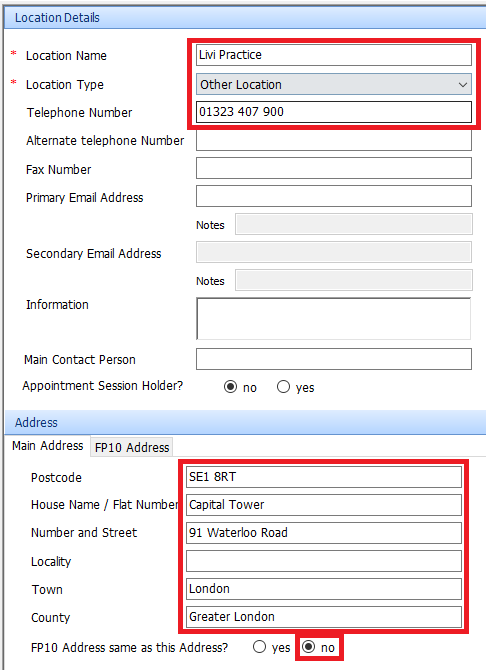
Add the Location Name 'Livi Practice', select Location Type of 'Other Location' and add the GP Practice Telephone number. Add Livi's main office address and select No next to FP10 Address same as this Address (this will create an FP10 tab):
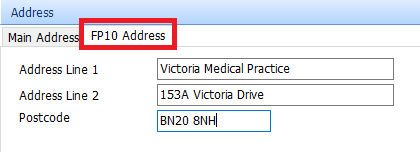
Select the FP10 Address tab and type in the GP Practice name and address:
Click on OK
Create a Team
Create a Team calll 'Tasks from Livi'. This will be used for Livi GPs to send tasks back to Practice staff in there are any further actions required following a Livi consultation. The practice will need to add the staff to this team who they wish to manage action these tasks. Therefore once the Team has been created inform the Practice and ask them to populate with staff members.
In Emis select the EMIS Bubble > Configuration > Organisation Configuration and then select Teams in the bottom left menu:
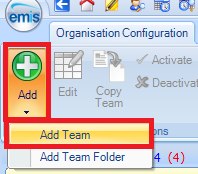
Select the dropdown arrown under Add and select Add Team:
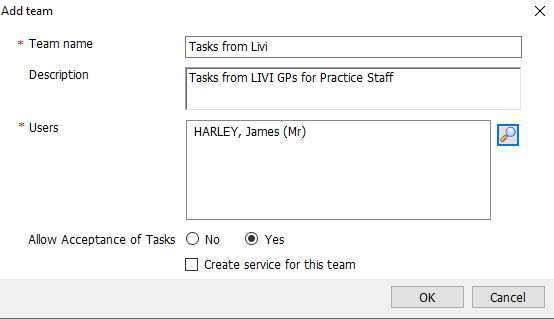
Give the Team name 'Tasks from Livi' and a suitable description. You will need to add at least 1 User to be able to create the Team. Click on the Search Glass and select a User (select yourself if you are not sure and then later remove yourself once populated with Practice Users). Select Yes next to Allow Acceptance of Tasks:
Once created, inform the Practice to start adding users to this Team who they wish to action any tasks sent back by a Livi GP
Set up an appointment book, session holders and slot types
In this section you will need to carry out the following tasks:
- Create a 'Generic' GP Account called Dr A Livi that will be the Appointment Session Holder
- Create a Slot Type called Livi to be used in Livi Appointment Books
- Create an Appointment Template (optional but can save time later)
- Create an Appointment Book (ready for Go Live)
Create a 'Generic' GP Account
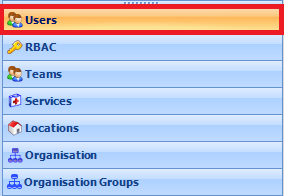
In Emis select the EMIS Bubble > Configuration > Organisation Configuration and then select Users in the bottom left menu:
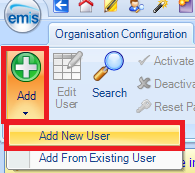
Select the dropdown arrown under Add and select Add New User:
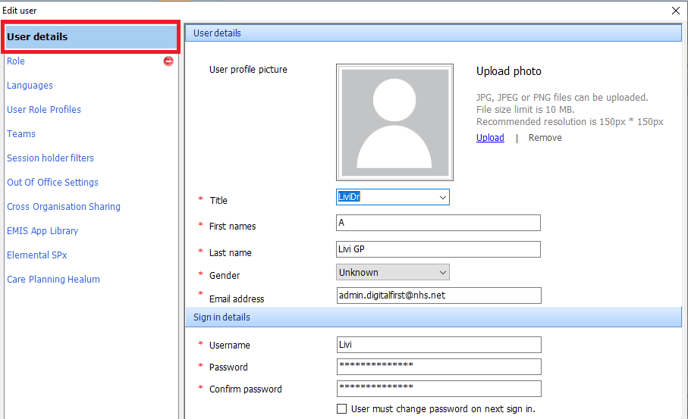
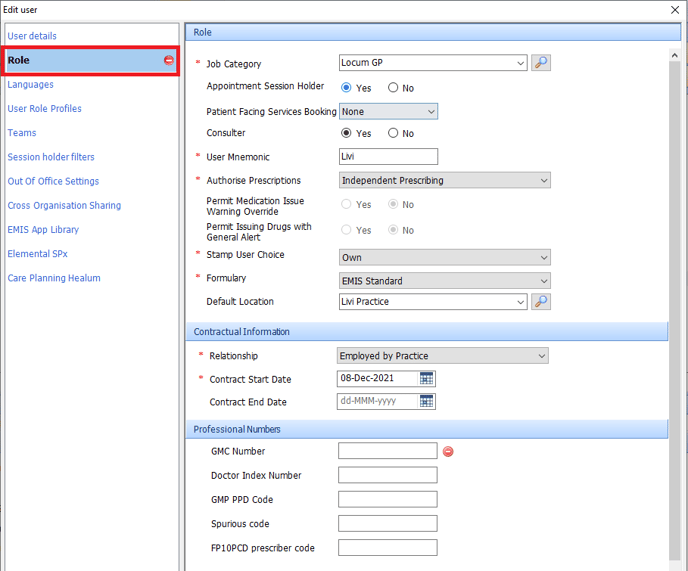
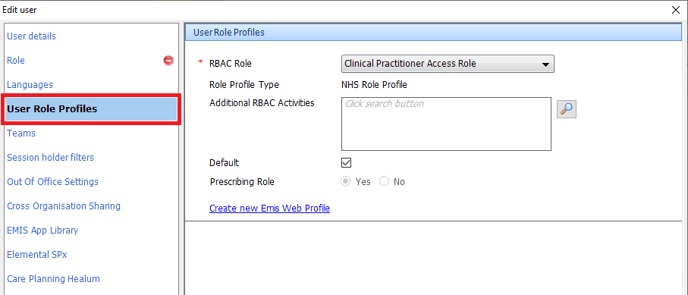
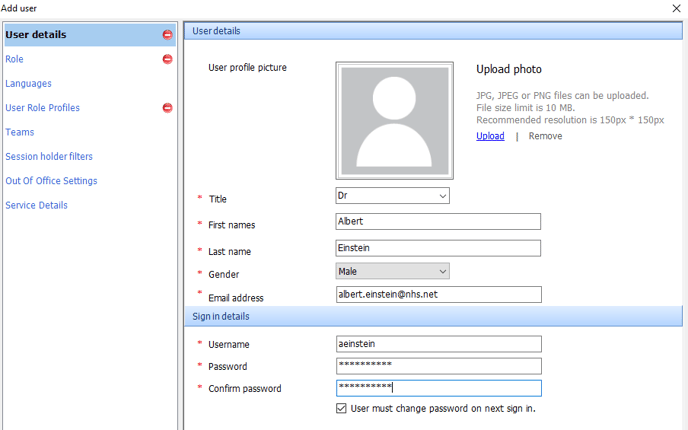
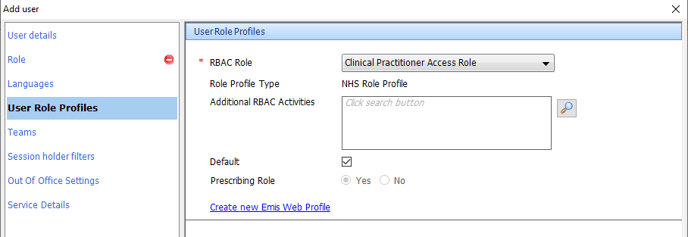
Create the new user copying the details below. You will only complete three sections - User details, Role and User Role Profiles.
When completed click on OK. You will be prompted with the following message:
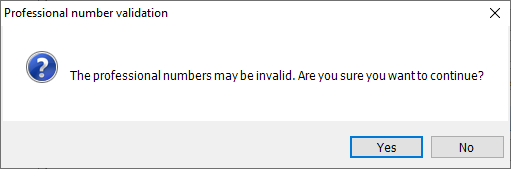
As this user will not need any professional numbers (i.e. GMC number) just click on Yes.
Create a Appointment Slot Type
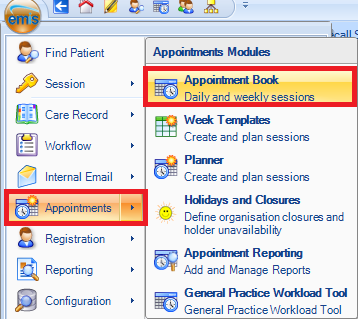
In Emis select the EMIS Bubble > Appointments > Appointment Book:
Select the Appointments Configuration Button from the ribbon:

Select Slot Types from the Organisation Options Menu and then Add...:

Complete the Slot Type Details as below:
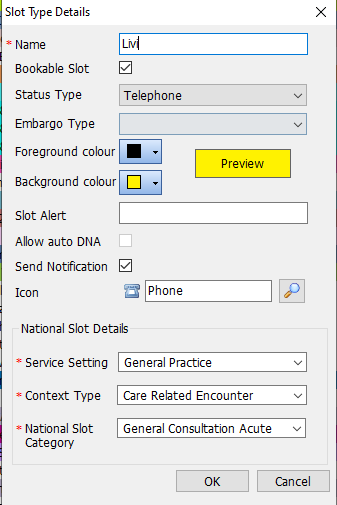
You may wish to choose an alternative Foreground and Background colour to the ones above.
Click on OK
Create an Appointment Template
In Emis select the EMIS Bubble > Appointments > Appointment Book:
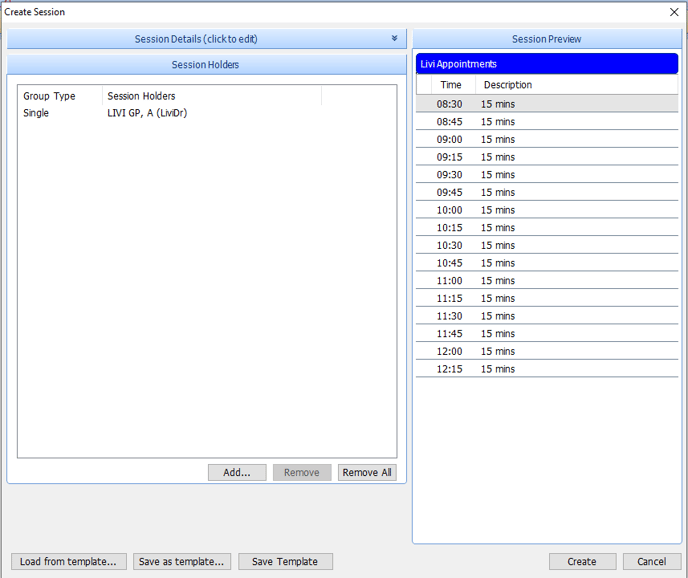
Select Create Session:

Complete the following:
| Session Name | Give the session name an appropriate name |
| Time: from & to | Choose the session start and end times |
| Slot Duration | Select the length of each slot session |
| Session Category | Select Default Non-list Category |
| Location | Select Livi Practice |
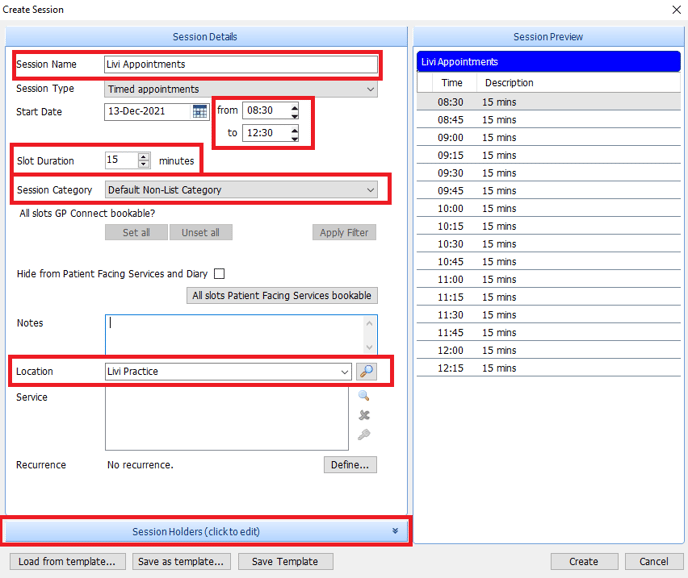
Then click on the Session Holders (click to edit) bar at the bottom.
Click on Add, search for Dr A Livi as the session holder and cick on OK:
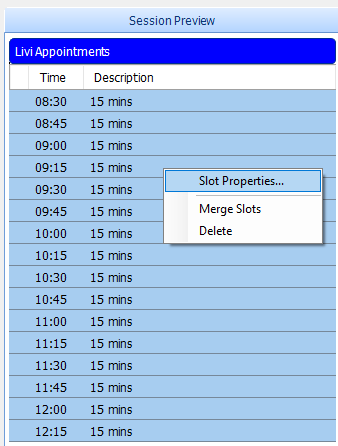
Highlight all the slot types on the right (click on the first slot, hold down the Shift key on your keyboard and click on the last slot), right click and select Slot Properties:
Choose the Slot Type Livi:
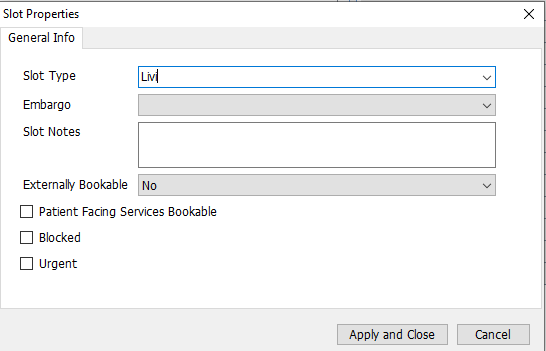
Click on Apply and Close
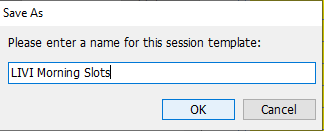
The session details should look similiar to the image below. To save this as a template click on Save as Template:
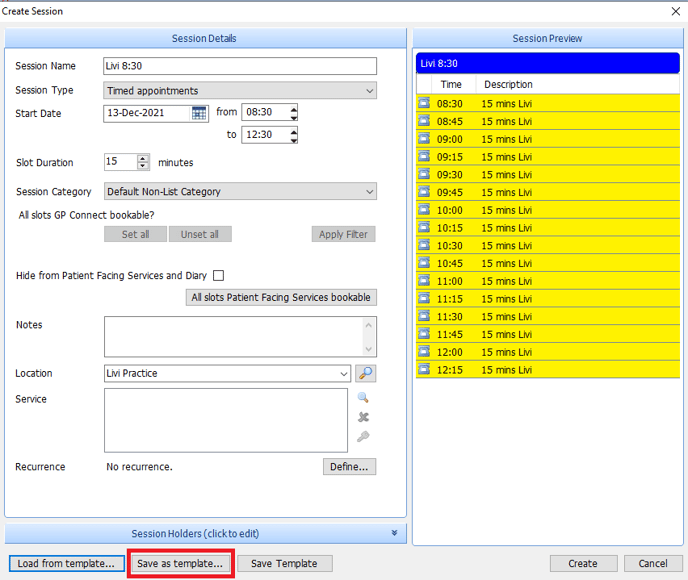
and give it an appropriate name:
Creating Appointment Templates saves a lot of time and effort. It enables admin staff to open the template (Load from Template), apply the appropriatre date and click on create to create the Appointment Book.
Create a Session Holder Filter
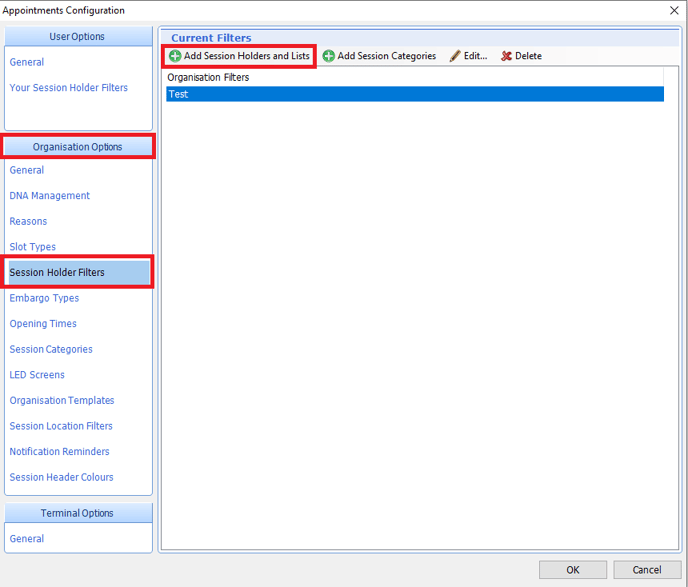
Staying in the Appointment Book area click on Appts Config button:
Select Session Holder Filters under Organisation Options and then click on Add Session Holders and Lists:
Give it the name LIVI and then Serach for Dr A LIVI and add them (double click to select). Click on OK:
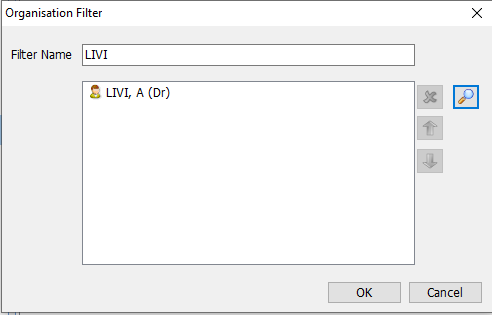
Click on OK.
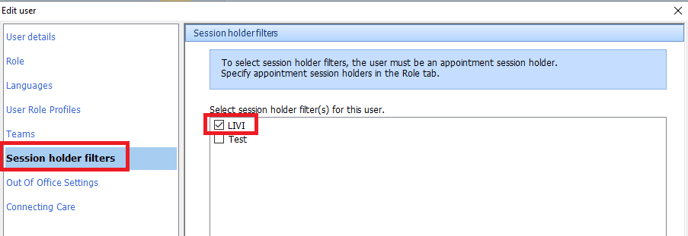
When adding a LIVI GP to EMIS make sure you check the LIVI Session Holder Filter in the Session holder filters section:
Adding Livi GPs and Admin
A group of GPs and a few Admin members will need to be added to the EMIS system. This will include:
- Creating an account for each GP and Admin member in EMIS
- Create a Username in the following format: (First Letter of First name + Surname + 1) e.g. JSmith1
- Create an initial password. Ensure to ticket the box ‘User must change password on next sign in’. Please set all Livi clinician logins to Monday2021
GP Setup
You must enter a legitmimate email address. This will be used to email the GP a link to reset their password if they forget thier current one
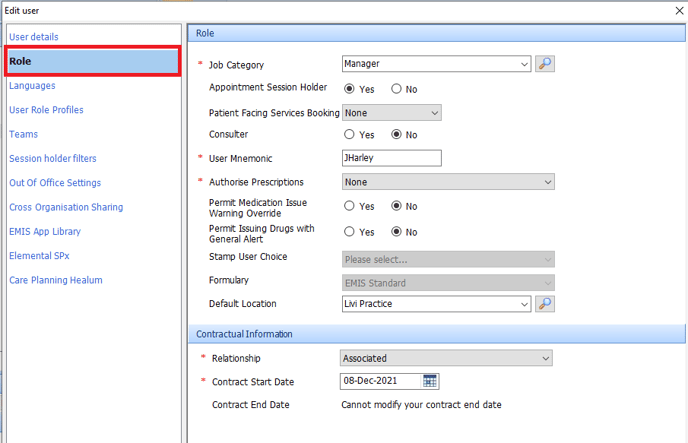
Copy the settings below on the Role section. You will need to know the GPs GMC Number and the Spurious Code which will be provided by the Practice. Use the Mnemonic initals_LIVI:

The RBAC Role Clinical Practitioner Access Role should be added automatically in the User Role Profiles:
The User Role Profile above will be superseded by the GPs Smartcard Role once they have Associated their Card
Check the Session holder filter LIVI in the Session holder filters:
Click on OK. You may get the following message. Just click on Yes:
Admin Setup
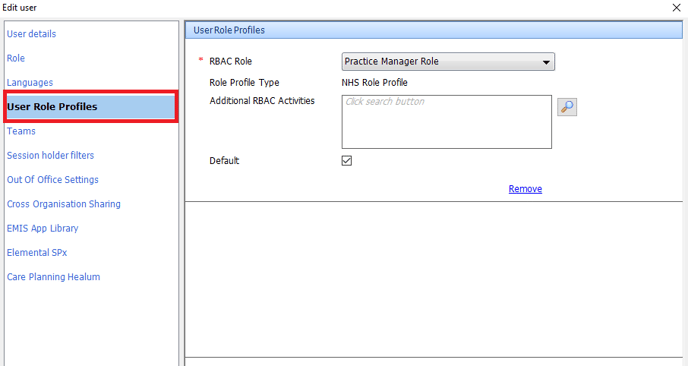
Follow the configuration below for Admin Users:
Document Templates
Templates (such as 2WW) in EMIS can be viewed by going to Emis Bubble > Configuration > Template Manager
All EMIS Document templates (such as 2WW) are in .ewdt format (Emis Web Document Template). Word documents (and other formats such as PDFs) cannot be converted to .ewdt's outside of EMIS. EMIS uses a local install of Microsoft Word to create Document Templates but when they are saved it converts them to .ewdt format. Document Templates can be imported and exported from EMIS and then amended.
In Template Manager select the Document Templates tab in the left menu:

If you wish you can create a new folder to keep all your templates in one place:
Import
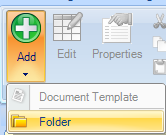
To Import a Document Template, click on the folder where you wish to import the template to and on the top menu select Import:

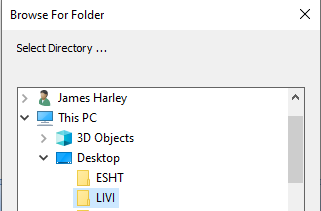
Select either a single *.ewdt file from your local machine (Document) or if you have a folder with many .ewdt files, import the whole folder (Folder). If you choose folder it will craete a child folder with the selected Emis folder of the same name created on the local machine:
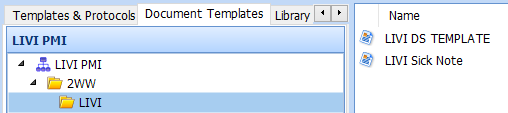
In the images below there is a folder called LIVI that contains 2 *.ewdt files on the local machine. Selecting the Folder will import the whole folder and the 2 *.ewdt files and create a folder in Emis called LIVI

Export
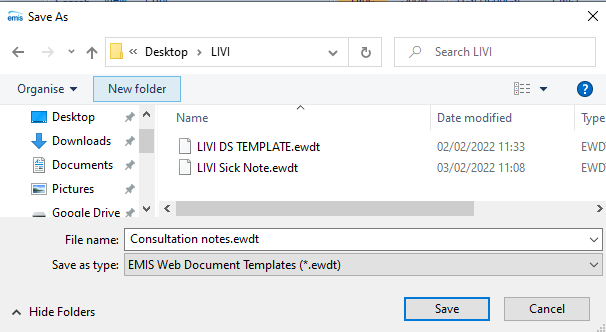
To export a *.ewdt file, select the file in Emis (you cannot export folders) and select Export:

Export to your local device and Save:
Edit Template
To edit a template select the *.ewdt file in Emis and click on Edit:

Before editing a template, copy and paste it (right click on file) into the same folder and edit the copy. That way you can always revert back to the original if you make a mistake.

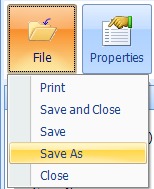
When you have finished updating the template click on Save and either select Save and Close or Save As:
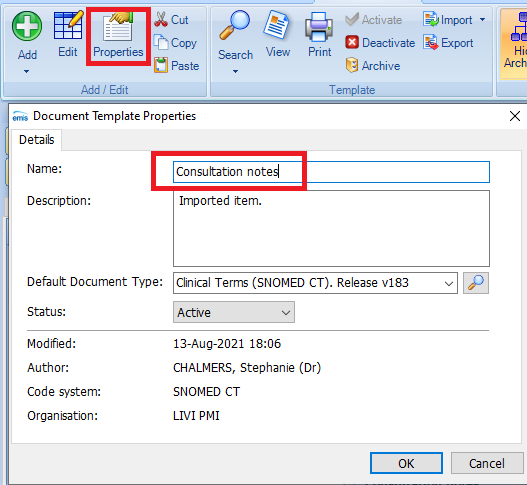
You can also rename Templates by highlighting them, selecting Properties and changing the Name: